Publishing an ASP.NET Website to Somee using VS 2013 Community Edition
I’ve recently started learning about ASP.NET and have therefore been hunting for a way to demonstrate the projects that I have created but on a budget basis (i.e. free!) before I finally settle on a hosting package. That led me to a hosting company called Somee who, so far, seem to fit the bill nicely with only a small banner at the bottom of the page. The deal is that I need to visit the page five times every 30 days and also access the MS SQL database (if you use one) at least once (again, in the last 30 days). All in all, quite reasonable!
Edit: 8th May, 2015. I found the site would often go down and raising tickets asking for help would go unanswered. To be fair, it was a free service but in this case, you definitely get what you pay for! Message me if you are interested in an alternative which “so far, seem to fit the bill nicely” :-)
OK, to begin, I am going to skip the part where you sign up for the account but you can do that at the link above and it is really straight forward. Instead, then, let’s talk about one way to publish your project because I had trouble doing it intuitively and there wasn’t much in the way of help that I could find on YouTube or the net.
Start With a Project
If you don’t have an existing project, you can start off by just using the ASP.NET Web Forms Site (found in File Menu -> New -> Website… -> Templates -> Visual C# -> ASP.NET Web Forms Site). That’s a ready made template that you can have up and running in minutes.
Beginning the Publish Process
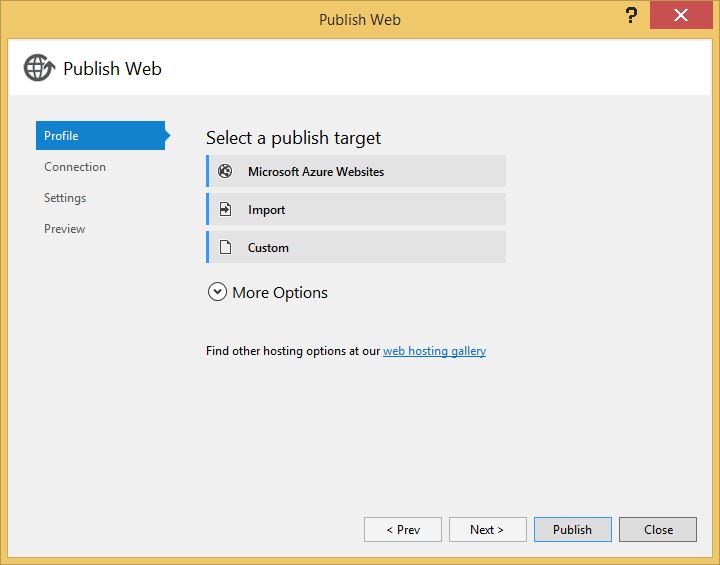
Under the Build menu of VS 2013, choose _Publish Website. _You should be presented with a screen that looks much like this:
Adding a Profile
The next step is to choose Custom and in the window that pops up, give your profile a name. I chose Somee. Click OK to action it.
Creating a Connection
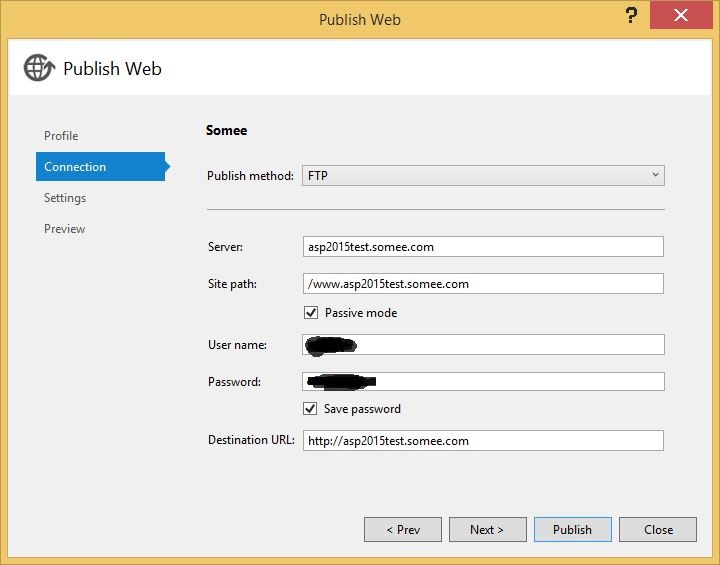
This is where a lot of the magic happens :-) so let’s take it step by step.
Choose FTP in the first drop-down and then under server, add in the name you chose for your site when you set the account up. In my case, that was asp2015test. The rest of the domain is provided by them, but you add the whole thing in: “asp2015test.somee.com“ The site path is the directory you want to publish to.
When you first FTP into the account, you are placed in a root directory which has a folder that matches the name of your site. Therefore, set the site path to be forward-slash together with “www.” and the same server name as above. For me, that was: “/www.asp2015test.somee.com“.
Passive mode was already checked; I left that alone.
Next are the username and password. They are the same ones that you get when you sign up for the hosting package and you will know these. I chose to save my password (terrible memory!) and I set the destination URL to be the same as my server name (first entry box) with “http://“ preceding it: “http://asp2015test.somee.com“. Now click Next.
Choosing Settings
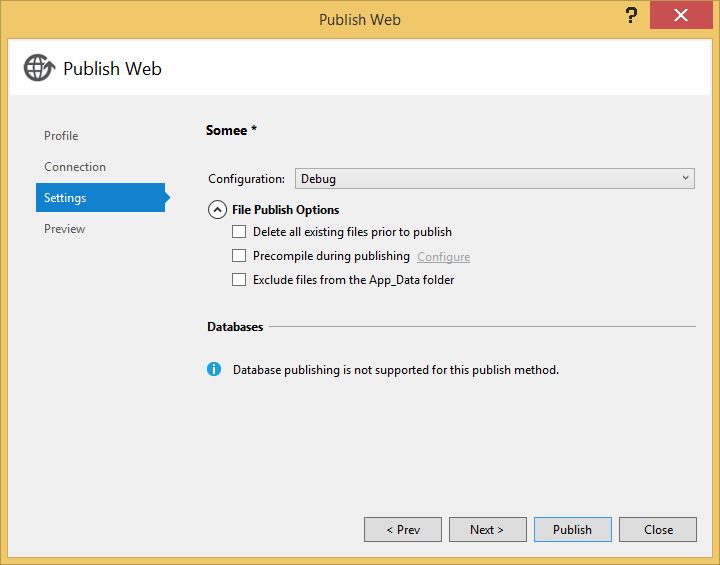
I mostly left these settings alone. I chose not to delete the existing contents (so that hopefully, it would just refresh the changed files) and because my machine is a little slow, I decided not to pre-compile anything. Click Next when you are ready to proceed.
Final Steps
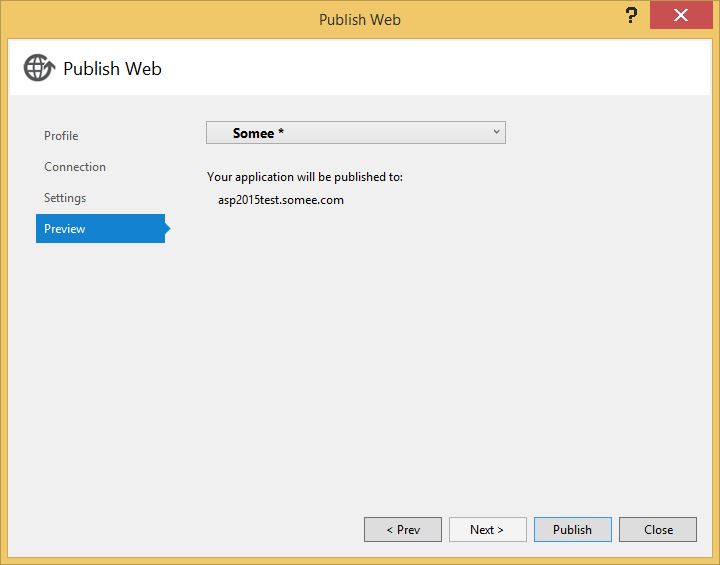
This is the final screen. When you click on Publish, it should cause your machine to chug away doing all those amazing compiling and assembling steps that make Visual Studio so incredible. If all goes well, you should see something like this in the Web Publish Activity window at the bottom:
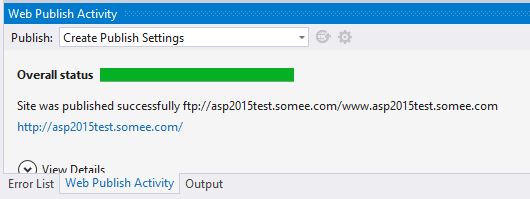
Now go to the URL of your site (the destination you filled in above)…you’ve just published it!
Hi! Did you find this useful or interesting? I have an email list coming soon, but in the meantime, if you ready anything you fancy chatting about, I would love to hear from you. You can contact me here or at stephen ‘at’ logicalmoon.com