Creating a Maze using JavaScript
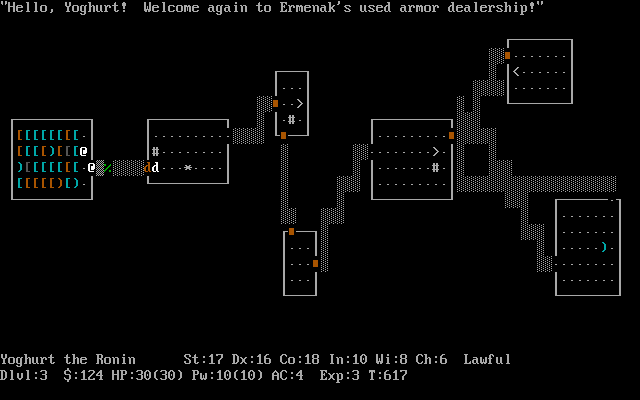
I never really thought much about mazes. I mean, I enjoy visiting them, I guess, but how they were made or what strategies you can use to generate them programmatically never really interested me. In the realm of games, there are many examples, though. For example, does anyone remember this game?

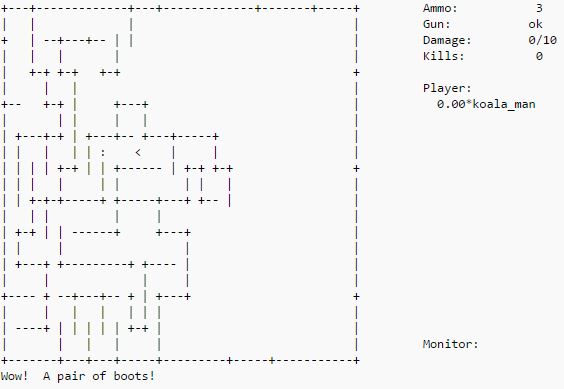
Or this one?

Hunt, the game above, chewed through many happy hours when we used to sit in the computer labs but I can hardly imagine what it was like playing it now. How the mind crumbles, eh? Well, generally speaking, how these kinds of things are produced didn’t seem that appealing until I came across this book: Mazes for Programmers: Code your Own Twisty Little Passages written by Jamis Buck.
In my opinion, it is good. Really good. I have only read some of the excerpts and the whole book won’t be completely available until later this year, but the author is a very good writer and he explains the concepts incredibly well.
That got me thinking, though…Since I have been working with grids recently, could I implement an example of an early maze generation algorithm in JavaScript?
The Algorithm
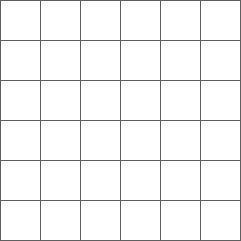
So that we have something concrete to talk about, let’s begin with a grid which is 6x6; that is, 6 rows of 6 cells, stacked on top of one another.

Next, let’s consider the top left cell as being row 1, column 1 (or r1c1). Now we’re ready to start bashing down walls! What we are going to do is to traverse the grid, cell by cell, from the top left, along to the right, before moving down a row and carrying on, until eventually we reach the last cell at r6c6.
Handling Basic Cells
At each point, we need to make a decision about whether we remove a wall to the north (the top) or the east (the right). Moreover, that decision will be based on a coin flip; if it is heads, we zap the north wall, and otherwise, the east one.
N |
Graphics take a step back in time, 20 years. Sigh.
Using our image of a grid above, when I say zap, imagine I am using a pencil rubber and just removing that particular line. But what about the edges?
Cells Around the Edges
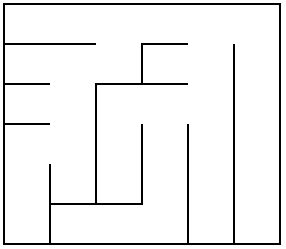
Edges are special conditions because if I happen to remove a north wall and I am running along the top row (r1c1 -> r1c6), I am going to smash an exit hole straight out. Equally, if I am running down the right-most edge (r1c6 -> r6c6) and decide to remove an easterly wall, again, I will make unwanted exits. Neither condition is good if you want to keep people within the confines of the maze! So, in the first case where we run along the top, we only remove easterly walls and ignore the coin flip (except for the right-most wall, of course, which we leave alone). Then, when passing down the right-most column (c6), we just remove northern walls, but again, not the top one. We do this for all of the cells and hopefully, by the end, we should end up with something akin to this:

Implementing the Algorithm
Building the Grid
I could type up a big table with all the cells I need, but what if I want to change it from a 6x6 into a 10x10? Or better yet, what about a 100x100 or bigger? Clearly, we ought to do this programmatically and fortunately, manipulating the DOM isn’t a huge problem.
1 | var maxCols = 6; |
This might look a little kooky, but the principle is quite simple. We are basically creating a big string which contains the HTML for one table. Inside that table, we are going to create the number of rows and columns as specified in our constants on lines 1 and 2, using a range of TR and TD tags. Specifically, we will label each cell’s id attribute with the r#c# labels that I mentioned a little earlier (where each # is a number).
There are a couple of points worth mentioning. Firstly, whilst the code is split onto multiple lines, it didn’t need to be that way; that was just for readability. Secondly, the penultimate line where we assign the HTML does it in one go, into the DIV with an id of maze-grid which looks like this in the HTML file:
1 | <div id="maze-grid" class="maze-grid"> |
Lastly, we hook this up to the ready event so that as soon as the page is ready, we are presented with a grid.
1 | $(document).ready(function () { CreateGrid(); }); |
Choosing Which Wall To Turn Off
OK, so what about that coin flip? We achieve that using the Math.random() function and simply asking whether the result is greater than or equal to 0.5. Since the values produced range from 0 (inclusive) to 1 (exclusive), I am fairly picking between two outcomes.
Removing Walls
Wall removal doesn’t need any contractors, fortunately! I simply make use of jQuery and alter the css for each cell, depending on whether I want to remove a northern wall (border-top-style) or easterly one (border-right-style). Here’s the code where I implement all of that:
1 | function RemoveWall(row, col) { |
Lines 4-8 handle my top row condition. Unless I am at the last column, just remove the easterly wall. 9-11 handle the case when I am at the most right column. Here we need to think carefully though. Remember that the first condition dealt with the first row, so I know that if I reach this point, I am in rows 2 to n, where n is the maximum row possible. That way, I know I am already safe in just removing the northern row. Lastly, lines 12-18 do my basic cell strategy of flipping a coin and deciding whether to rub out the northern or eastern walls. One final thing worth showing is some of the wrapper code for the above:
1 | function CreateMaze() { |
All of this can be seen by taking a look at the source of the webpage, together with the necessary CSS. Any questions, please leave a comment.
Improving It
I can immediately think of a few things that could be done to make this better.
- Allow the user to specify the size (row and column width), rather than hard-code it.
- Visually traverse it. I saw a great demo of that via that authors book page that someone had done, here.
- Try implementing some of the other maze algorithms. This is only a simple one and there are better versions.
- I used a table for this, but why not try doing something like this with the DOM canvas?
That wraps it up for another blog post. Hope you enjoyed this one; I did.
Hi! Did you find this useful or interesting? I have an email list coming soon, but in the meantime, if you ready anything you fancy chatting about, I would love to hear from you. You can contact me here or at stephen ‘at’ logicalmoon.com