Setting SSH keys for Azure VMs using Bitvise

Logging into a VM, even an Azure one, can be done with a username and password but there is another way which is more secure: using SSH keys. This small step-by-step set of instructions will explain how you can use an SSH key with your VM. To begin, let’s start by assuming that you have an existing Linux VM.
Create profile
- Open BitVise
- Click New profile
- Give it a name/folder
- Click save
Generate Key Pair
- Click on Client key manager
- Click on Generate New
- Give it a pass phrase, twice
- Ignore comment - no need to enter anything
- Click Generate
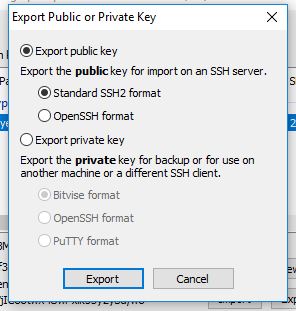
- Click Export
- Choose Public key

- Choose file location and click Export
- Close the window with the X button
Storing Public Key in existing Azure VM
- Find your VM
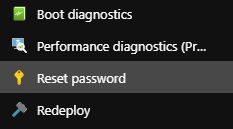
- Click on Reset password

- Make sure you have chosen the Reset SSH public key option group item

- Type in your username
- Open up the file you exported in notepad or similar
- Paste in the contents of the exported public key into the public key SSH textbox
- The public key should look a little like this:
---- BEGIN SSH2 PUBLIC KEY ---- |
- Click Update
If VM newly created
- During the creation process, you will come to the stage where you can enter the SSH key.
- At this point, follow the steps above.
Logging into the VM
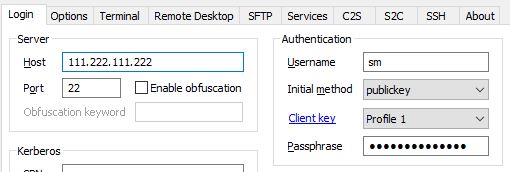
- On the main login page of Bitvise, paste the IP address of your VM into the Host text box
- Add the username into the authentication area
- Set initial method to publickey
- Client key will be profile 1 (if it’s your first)
- Passphrase will be the same passphrase you used when setting up the key

You’re done! You can now connect to the host.
Hi! Did you find this useful or interesting? I have an email list coming soon, but in the meantime, if you ready anything you fancy chatting about, I would love to hear from you. You can contact me here or at stephen ‘at’ logicalmoon.com