A Quick Guide to Recording Time With Clockify

First post of the year! Tada!
This is a quick guide on how to track your time, electronically. Of course, you can use your watch and a pen/paper, and whilst somewhat flexible, it is a pain if you want to graph or further process any of your timekeeping. That’s why I am going to show you how to get up and running with Clockify - something we use at work, and which I think is pretty good. Naturally, there are a number of reasons for this:
- Clockify sits in your browser - who doesn’t have that open all the time?
- It can record time against a number of things.
- You can retroactively add time in or alter it - no need to get it right first time, everytime.
- It has a variety of reports - useful if you want to blog about what you have been doing, periodically.
- And best of all - it’s free.
To begin, let’s get signed up so head here to their homepage and click on their GET STARTED button.

From here, type in an email address and password, agree to their terms (you do read them, right?) and click on CREATE FREE ACCOUNT. See, I told you it was a fair price.
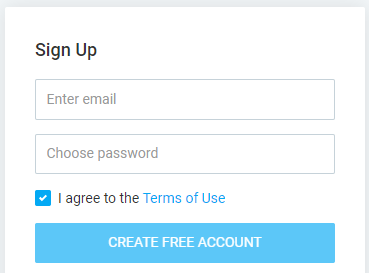
When you get your confirmation email, click that button inside so they know you are real.
Back in the web app, you will now see their main dashboard.
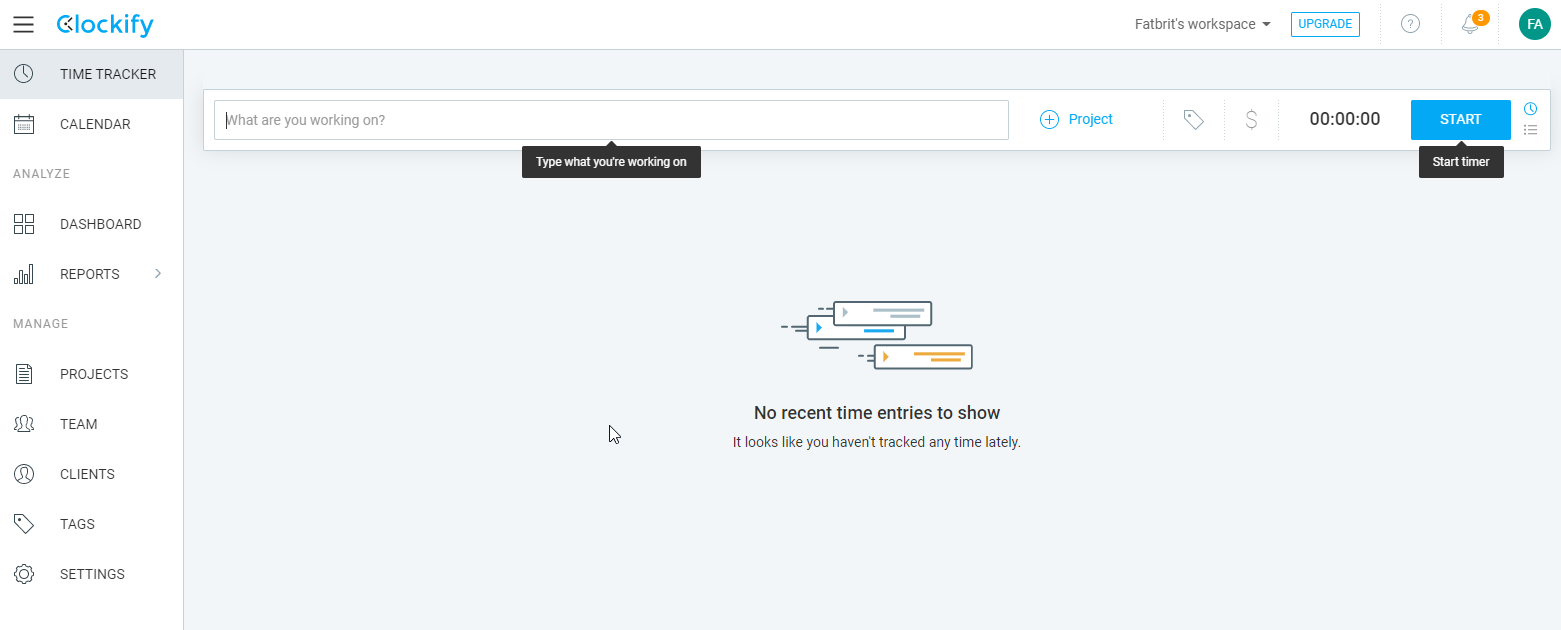
What we ought to do now is set up some projects so that we can keep track of various classes of
timekeeping. In my case, I care about three things:
- Writing
- Studying
- My SAAS project
To begin, click on PROJECTS:
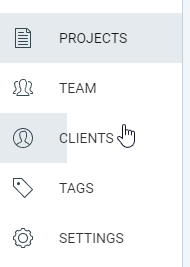
And then the CREATE NEW PROJECT button:

Add in your first project. For me, that’s study where I pick a nice colour and ignore the rest of the buttons. I have no clients and am not worried about templates right now. Finally, click CREATE.
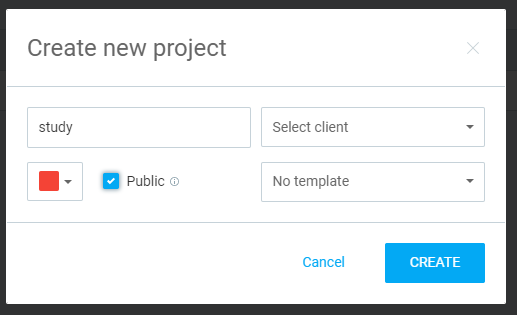
Now do this a few more times for however many projects/areas you want to record time against. Here’s my finished list:

OK, almost there - let’s start that timer. In the TIME TRACKER section, selected by the button on the left, choose a project and click the START button. Here, you can see I picked writing because I am literally writing, right now (yeeha!) before commencing the timer.

When you are done, click STOP and you have a shiny new time recorded against a project.
As I already mentioned, with Clockify, you can go back and alter any times. In my case, I know that I spent ten minutes starting this blog post on the 1st of January, but didn’t record it. To fix that, what I did was start a timer against writing, then stop it. Once it appeared in my list, I edited the times, calendar and duration to match what happened. You do that by clicking in the areas I point to below:

Let’s finish off by shpwing a report of the time I have spent writing this year. In my case, I need to stop my timer (which I explained how to do earlier). Once that’s done, click on REPORTS, then SUMMARY at the top, before choosing a big enough time period to cover this week and last (a year should do it!).
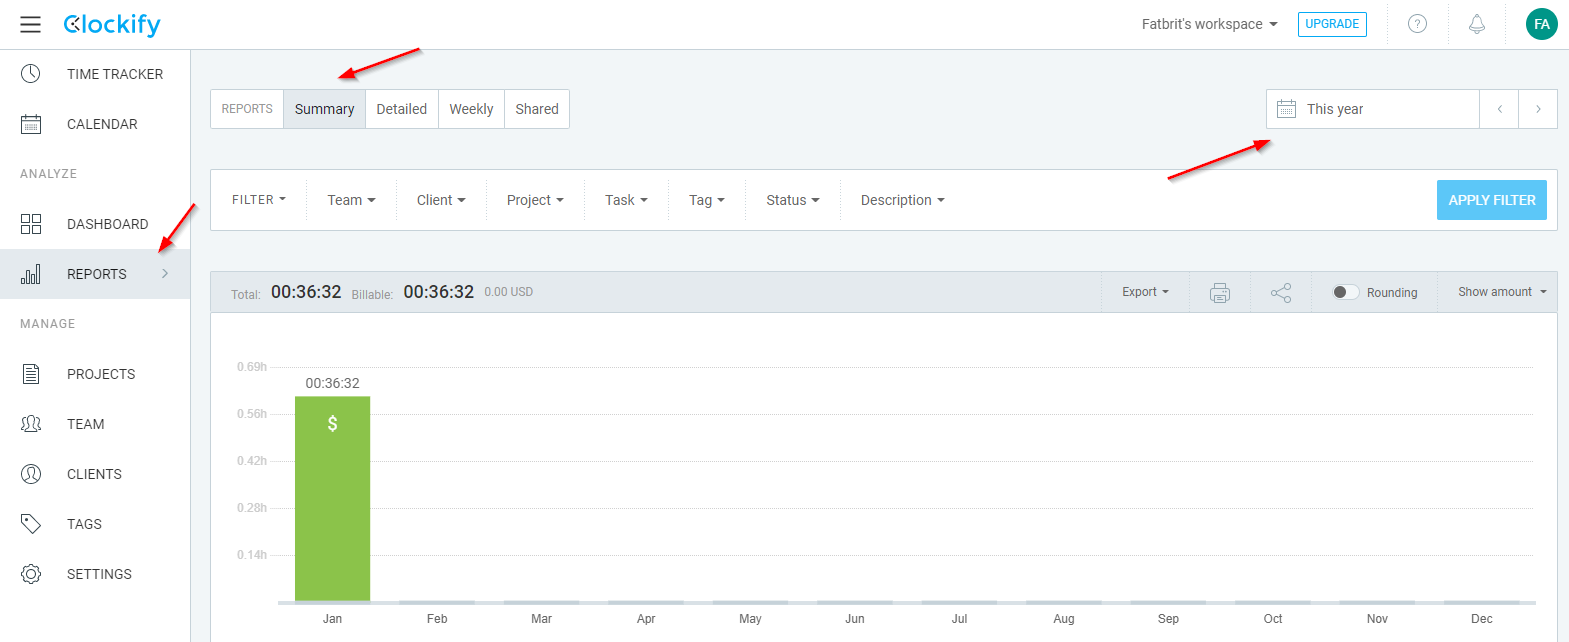
There you go - this amazing blog post used up 36 minutes of my life force. How much writing are you going to do?
Hi! Did you find this useful or interesting? I have an email list coming soon, but in the meantime, if you ready anything you fancy chatting about, I would love to hear from you. You can contact me here or at stephen ‘at’ logicalmoon.com